Your Cart is Empty
DESIGNED IN SEATTLE | MADE IN SEATTLE
DESIGNED IN SEATTLE | MADE IN SEATTLE

HOW CAN I SAVE MY FOAM PLUG AFTER ERRORS OR SHIFTING?
January 20, 2021 2 min read
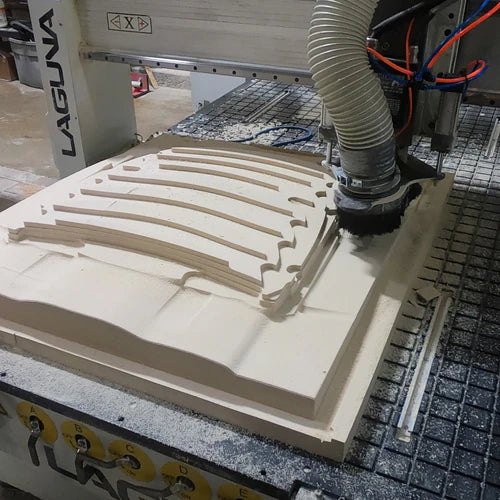
CNC machining requires careful setup to make sure your stock doesn't shift or cause collision errors while running your program. Fear not, we have some experience in this realm and would like to answer your questions.
One of the most important considerations you can make before running your program is how you fix your material to the bed.
- Make sure to locate the part to a location you can easily return to
- If you have a vacuum table, check for strong suction. Make sure your vacuum lines are connected and your bed is clear of any debris which might break contact between your material and the suction created through your bed.
- Apply double sided carpet tape to the bottom of your material to adhere it to the bed of your machine. We use4” BT-480 from Bron Tapes. Make sure your material and bed are clean and dry before application.
- As a last resort, mechanical fasteners like clamps and screws are an option when applicable, but they are not ideal. Any additional objects on the bed can create opportunities for collisions.
How can I save my foam plug if an error occurs during machining?
- To start, it is always a good idea to double check your code to see where the program went astray. Tool heights are often a factor in throwing off your axis, which means any errors here will cascade through the remaining steps of your program. Always make sure you have the correct tool height for the cut profile you are trying to achieve.
- Look for other error codes. Your program might exceed your machine’s memory, or the computer might glitch and cause the spindle to run in place.
- Double check your origin position. If a collision does occur, return the spindle to the home position.
- During setup, it helps to line up to a good square edge on the part, usually with the bed.
- With your material on the bed or spoil board, trace the perimeter of your plug onto the board.
- You may also decide to machine a small pocket off the part which you can use to align your X and Y axis anytime the part is replaced on the bed.
- Remember that you can always add Bondo or filler to fill any holes made by a crash.
Keep in mind that roughing passes produce the highest forces. As a result, this is the part of the process where you are most likely to have a failure. Include a ~.25” radial and axial offset to account for deviations in the part.
- If the part is in really bad shape, you can always step down and re-machine your plug ~½” lower into your material. Utilize your foam as best as possible to allow you to reuse it later. Since we work with foam, we use thicker boards so that there is excess material that we can re-machine in the future.
For more information on machining foam plugs, or to learn more about the processes and solutions we use in the shop at Common Fibers, check out ourDIY Blogs.
Subscribe
Sign up to get the latest on sales, new releases and more …