Your Cart is Empty

HOW TO MAKE A CARBON FIBER FANNY PACK
Platform: April Fools Joke 2017
Design: Common Fibers
Media Coverage:Promo Video
Idea Creation
Every year the at Common Fibers puts together an April Fools product to share with our followers. Hence, the Coolest Fanny was born. Here are the plans so that anyone can make their own Coolest Carbon Fiber Fanny Pack!
All great ideas start on a scrap of paper.

In this day and age, a sketch is then transferred to a computer and turned into a CAD model. Want to learn more about designing carbon fiber parts? Check out our post ondesigning composite parts for an introduction to our design process!
Plug Creation

For a prototype, it is okay to hand shape a master plug. If this were to go to production, this process would be replaced with a CNC router.

After the rough sanding, it is important to bring in the detailer who can finish the plug and ensure it is symmetric. How provocative!

To save time, we are going to be using the male plug as our final mold, which means the interior will be perfectly glossy and the exterior will need additional work. To finalize the plug, we spray it with a mix of gelcoat and hi-gloss additive (to force an air cure).

After gel-coating, the plug needs to be sanded to a smooth surface finish and then waxed. If this were to be the outside of the fanny pack we would also buff the surface to a high gloss finish. For more information on building a plug, check out our process blogs onsplash plug fabrication,machining a foam plug, andplug finishing.
Layup Process
Using the plug, determine the shape of the carbon fiber that needs to be cut out. Do this by wrapping a scrap of fabric around the plug and trimming it to fit like you would want the carbon to fit. In the case of a fanny pack, the pattern happens to look like a big diaper!


Time to get wet! For a one-off part, a wet layup is the way to go. It is quick and simple, but also very messy!


Once the plug has been wrapped in carbon fiber you need to pull a vacuum on it to consolidate the layers and let the resin cure. In this case, a simple envelope bag with release cloth, perf-bag, and breather bleeder will be used.


Stay tuned for an upcoming post on the wet lay-up process!
Part Finishing
When making a part off of a plug instead of a mold, the surface finish is never going to be great. After pulling the part and sanding it flat, it can be nice to add one final surface layer just for appearance. This will eliminate all wrinkles and surface flaws.

It’s time to get artsy! With the part laid up we will now trim it to size, cut out all the speaker and button holes, and sand it to the appropriate finish. This step is messy, but it’s worth it for the perfect fanny!

With the part cut to shape it is time to make her look pretty again! Bring on the clear coat! Add many layers to achieve a deep clear finish!

You can learn more about the intricacies of the finishing process in our posts ontrimming carbon fiber,how to spray clear coat andbuffing and polishing best practices.
Final Build
With the shell complete it is time to bring the fanny to life! We dismantled two stereos, spliced together the four Bluetooth speakers and installed them with custom backing plates.

Now that we have the internals assembled we can start fabricating the cooler. Based on what we had on hand, we decided to use thermal insulation blanket and clear vinyl to make the cooler. Probably the hardest part of the whole project was sewing the Zippers… They are really tricky!

With the cooler sewn, double sided tape (3M LSE Tape) and super glue (3M SF100) can be used to attach the cooler to the carbon.

Once the cooler is in place, it is time to start filling features in around it. We sewed a micro suede pocket with stiffening for sunglasses and glued it in using the same adhesives. It’s the details that make the Coolest Fanny a big hit!

Getting to the end! All that is left is the addition of the hip belt. In order to attach this firmly we sewed Velcro to a panel of super durable rubberized nylon. From there, we actually riveted and glued the panel onto the carbon fiber shell. Velcro + Rivets + Glue = Life Proof

We made some slots in the carbon fiber for us to slide webbing straps through. This provided an attachment on the sides of the hip belt (purchased on clearance from REI). The center of the hip belt already had Velcro so we stuck this portion to our fanny pack and clipped in the sides!

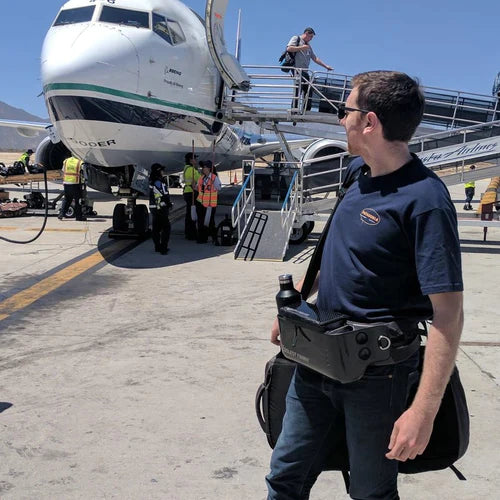
The Coolest Fanny is complete! With speakers loud enough to throw a party anywhere and enough beer storage to almost get one bro drunk, it truly is a Party in a Pouch!
And beyond that, it also happens to be awesome to take traveling, rock climbing, quading, scootering, and just about anywhere else!


